AR galleries
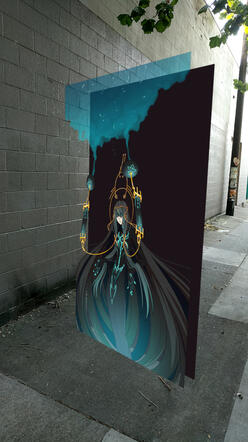
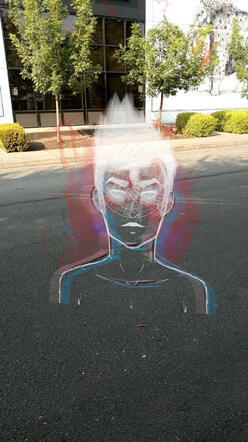
This is a tutorial where we are going to make a website that displays images in a 3D environment when viewed on a desktop, and gets super imposed over the world around you when viewed on a mobile device.This could be used to make a new generation of comics, present your art with an abstract environment to better suit the tone of your piece, or something I haven't even thought of yet. Let's go!
Examples
Big thanks to my friends and collaborators on these projects.
Flynn @flynnryanart
Karolina @_keroart
Jack @shifting_atlas
and the art I am gonna be using for the tutorial is from John Loren big thanks to him! @johnlorenartIt's a webpage! It's accessible anywhere, open source, anywhere that has standards compliant browser! So cool. Anyway, here are some links to stuff I have built in the past.I made some very
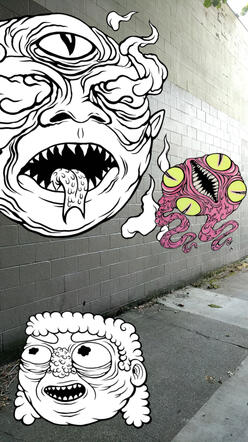
programmer art comics.
#0.) Test an A-frame project on your device.
Open one of the example projects on your device, and see if a little AR button shows up in the lower right. When opened in a desktop or mobile web browser, you will see images in a white void that you can rotate, zoom, and move through with WASD and the mouse. On mobile, you'll be able to engage Augmented Reality, and see that scene super-imposed onto your surroundings through the camera.At the time of writing, it works in chrome on IOS and Android, if your phone is new enough. Because the spec is so new, it hasn't been implemented everywhere yet, and isn't supported on all hardware.
...yet.
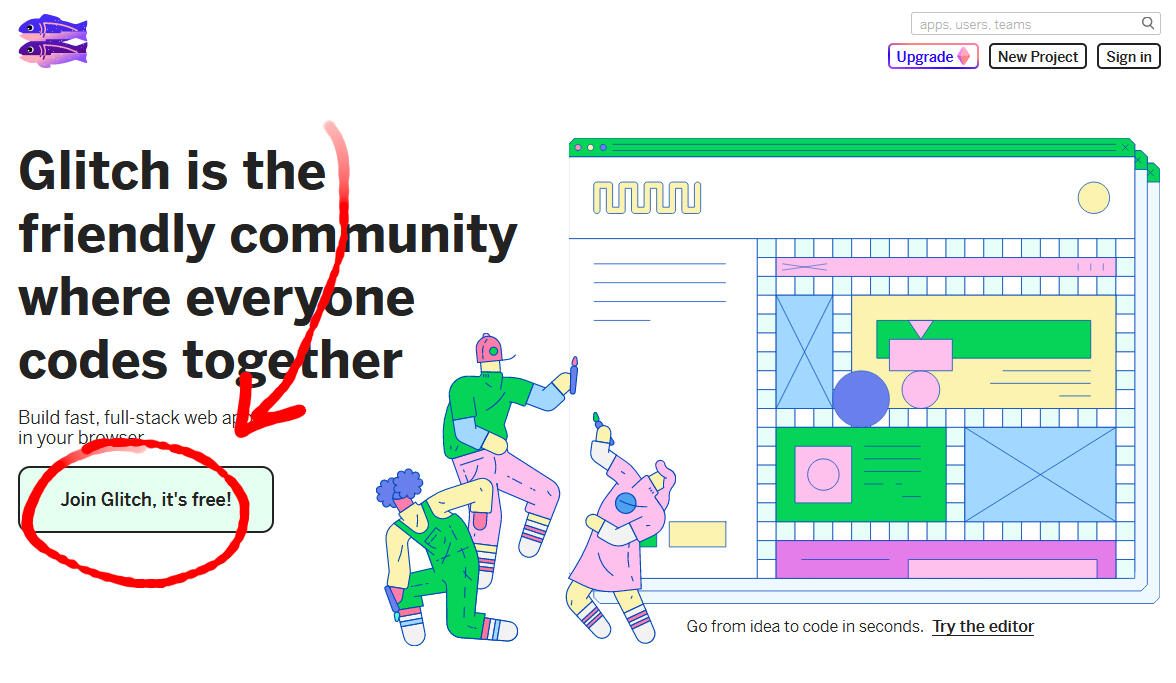
#1.) Make an account on Glitch
Glitch is a cool website that lets you build and host sites for free.
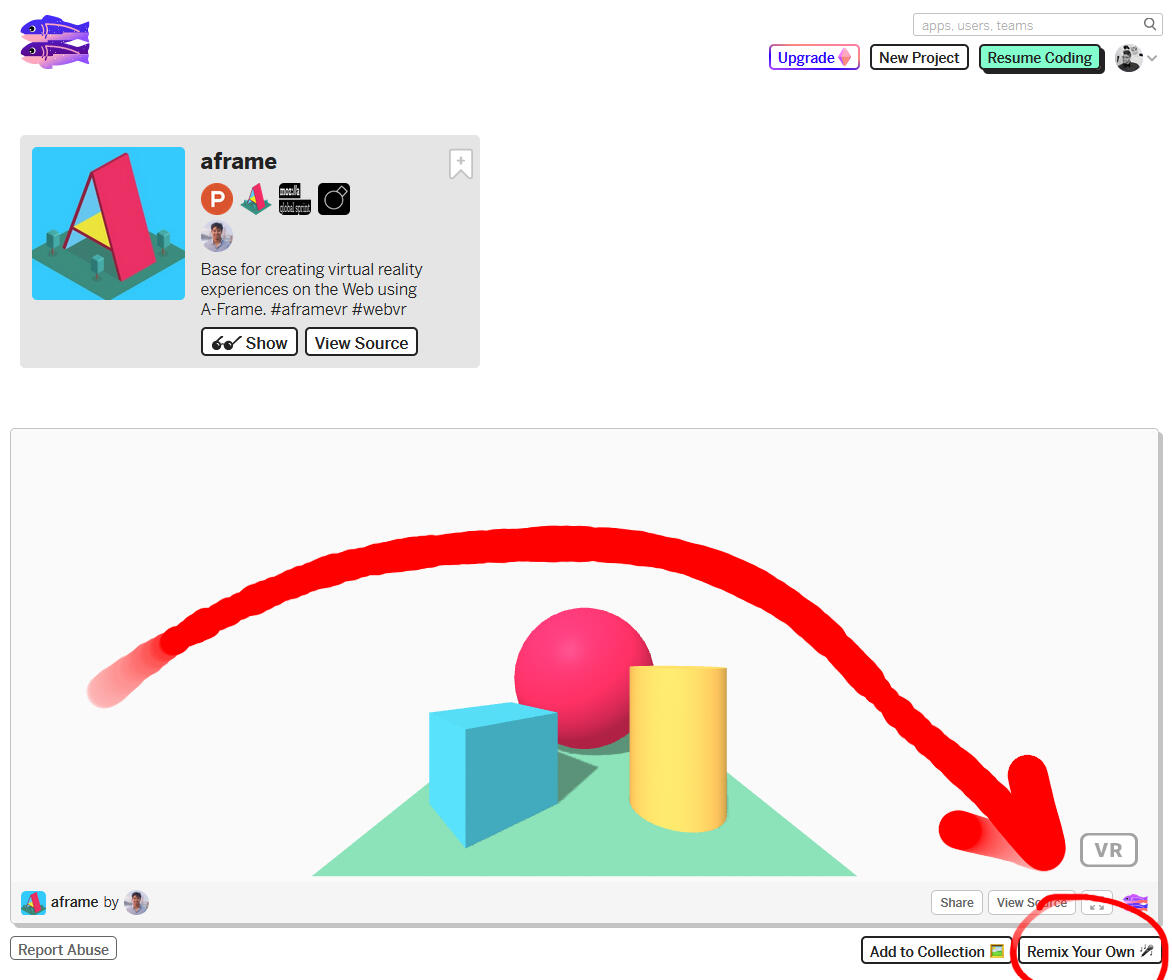
#2.) Remix the "Hello WebVR" project from the A-frame docs.
Click over there and click this little button in the corner.
#3.) Get a look at your new project.
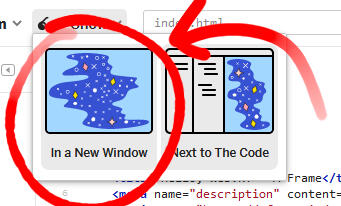
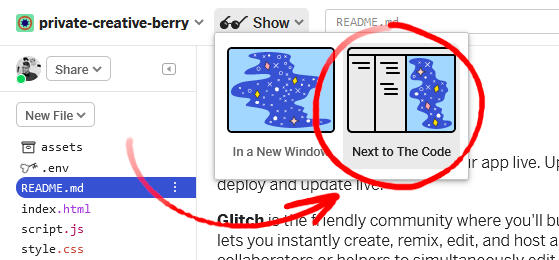
Click on "Show" next to your project name in the top left, and select "Next to the Code."
If you click on the right side where it's 3D, you can click and drag with your left mouse button to look around, and use either the arrow keys or W,A,S and D to move around.
#4.) Add your art
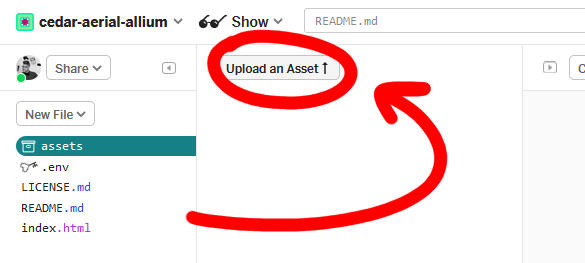
Locate and upload your assets.
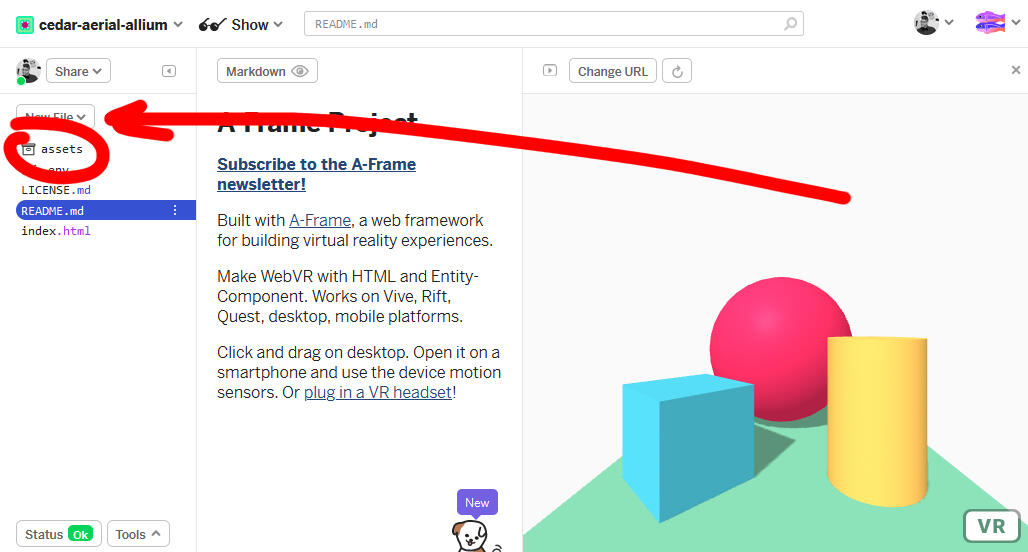
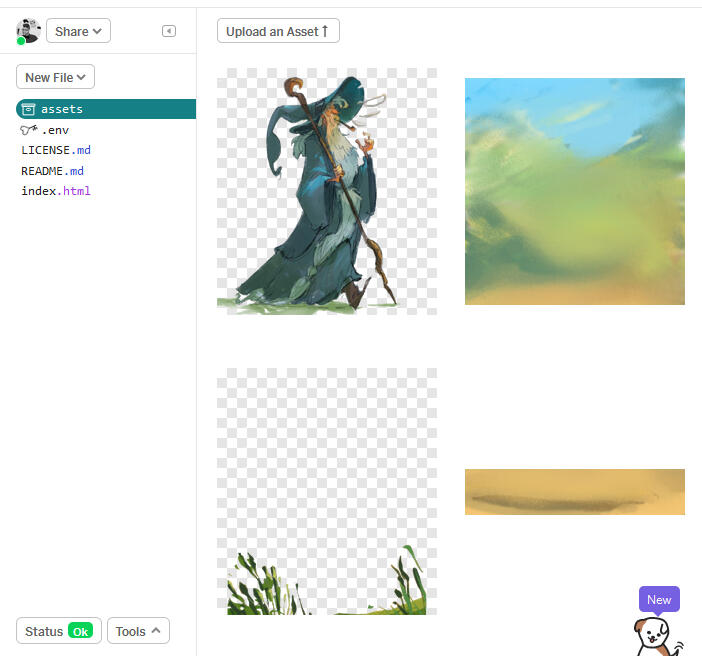
I have taken John's art and cut it apart, and filled in some bits to create transparent layers. My goal is to add a bit of depth and parallax to it, in THREE DEE.
#5.) Add an image to your scene
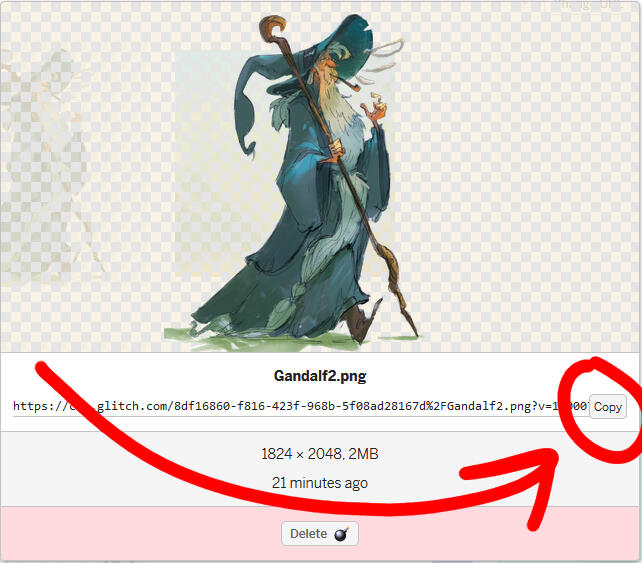
Click on one of your images in the asset browser, and copy its (very long) URL
We are gonna put your image in this 3D scene but first you need to understand what we are doing. This is the scariest part of the tutorial. Don't worry, it's short.So HTML tags have an opening and a closing "tag," or characters in between some < and > signs. That's why the page begins and ends with <html> and ends with </html>. So everything in between <head> and </head> is establishing details about our site. What shows up as the title of our page and also what fonts and scripts we are using. This scene is being built in A-frame, so we have called it to use in the <body> down below.Take the string <title> Hello, WebVR! </title> for example. We have the title opening tag, <title> the content of the title tag, and then the closing title tag. </title>Inside of the opening tags are 'properties' or things that help define the object. For instance in this box tag,
<a-box position="-1 0.5 -3"><a-box>
the position property defines the position of the box in x,y,z format.

So in the <a-scene> tag you can see all the elements of our scene presently. We have a box, sphere, cylinder, etc. Each one of those has a couple of attributes like its size, shape, color and rotation.All you gotta do is go to the end of </a-plane>, hit return to go to a new line, and copy and paste this image tag into your scene tag. In your image tag, you will replace my fake image name, with the URL to your image that we copied from assets.
<a-image src="pasteyourlongurlhere.png" position="0 1.5 -3"></a-image>
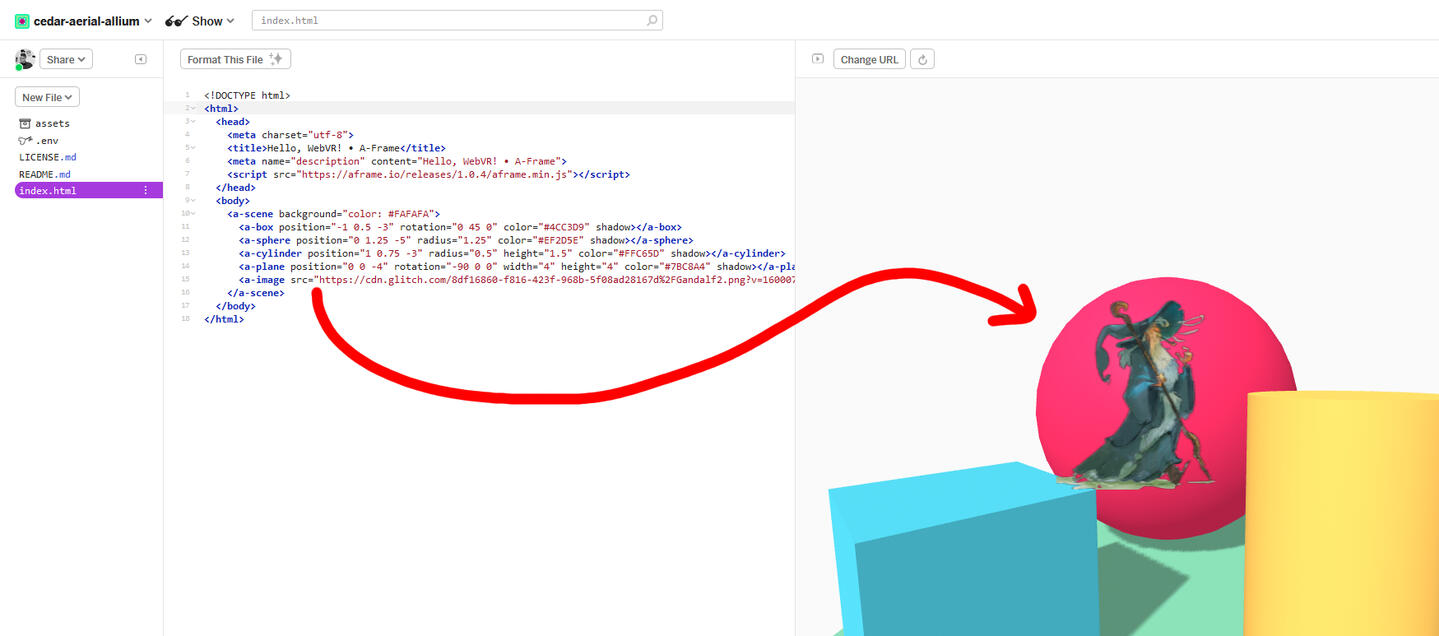
It's there! Huzzah! But odds are the art you have made, isn't perfectly square. If it is... well you can come along for the ride anyway. If you don't specify the scale of an image, it defaults to a 1x1 aspect ratio. So let's go specify it!
#6.) Modify your Object
First, we have to stop the preview from refreshing automatically. Click on your project title in the top left, and uncheck "Refresh App on Changes."
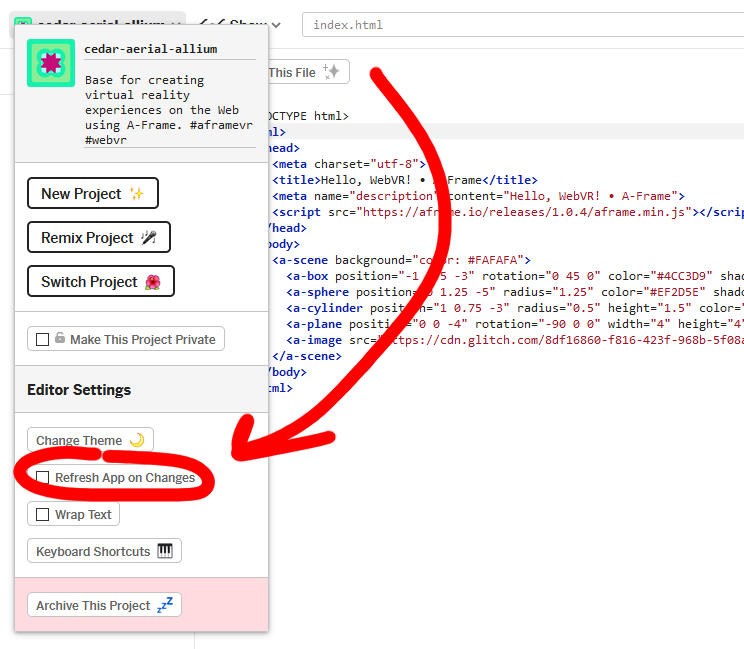
Then click on the right half, and hit Ctrl+Shift+I
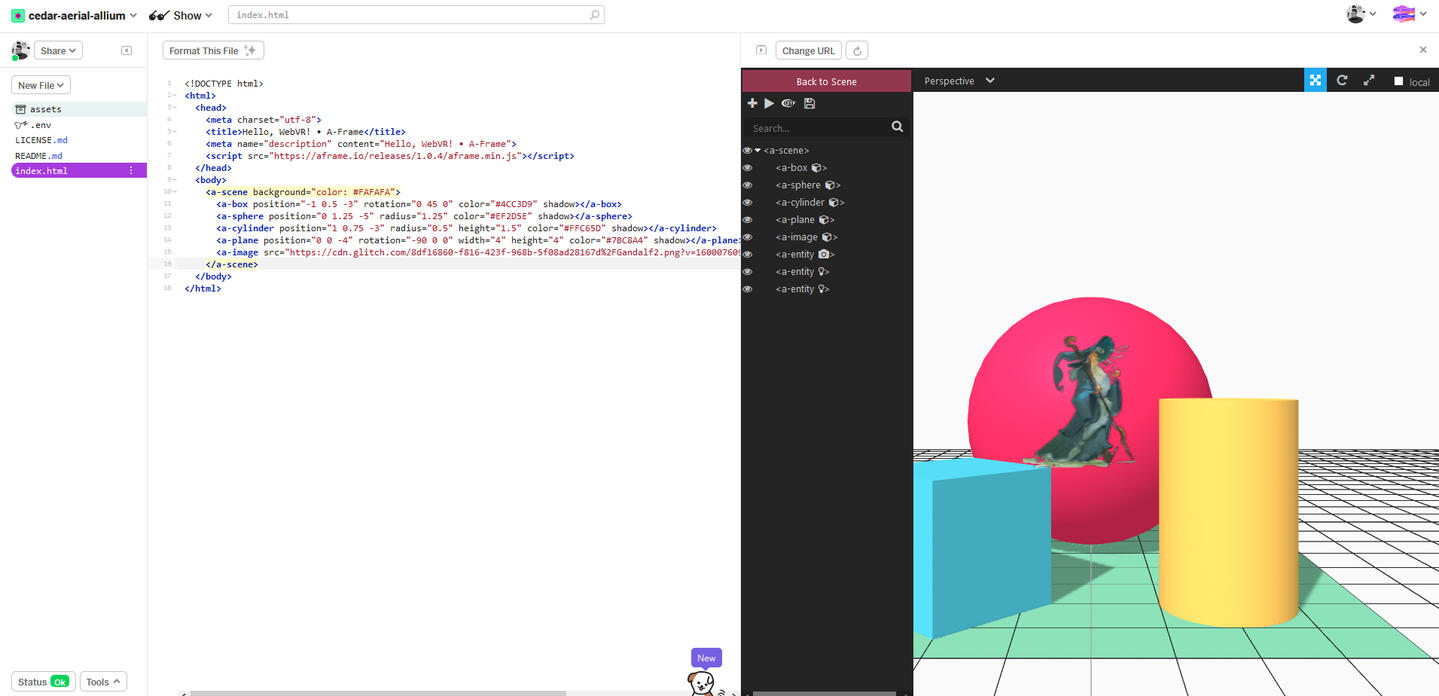
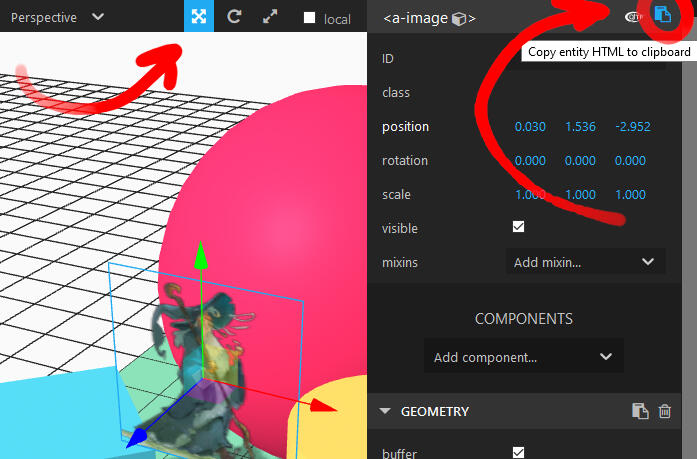
Woah! Who's this dark, sultry UI that just showed up? This is the A-Frame inspector, and it can show and manipulate the attributes of objects in your scene. If you click on your image, either in the scene, or its name on the left, you can view all of its elements and attributes on the right.
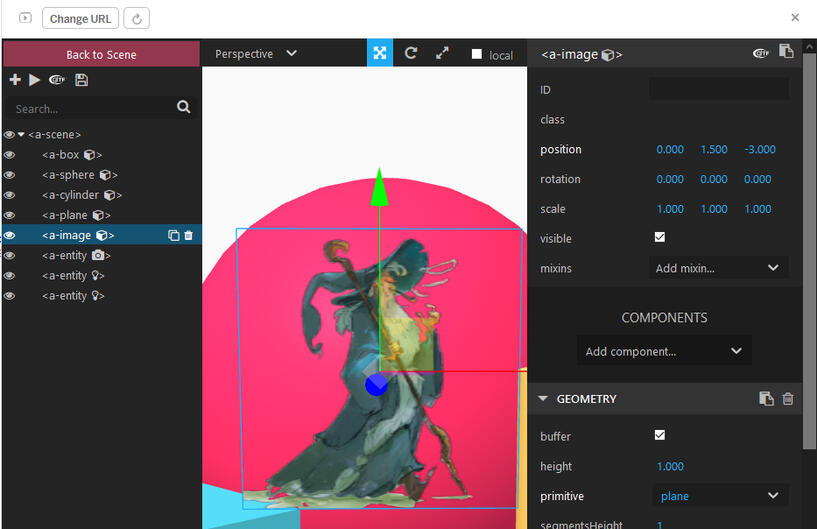
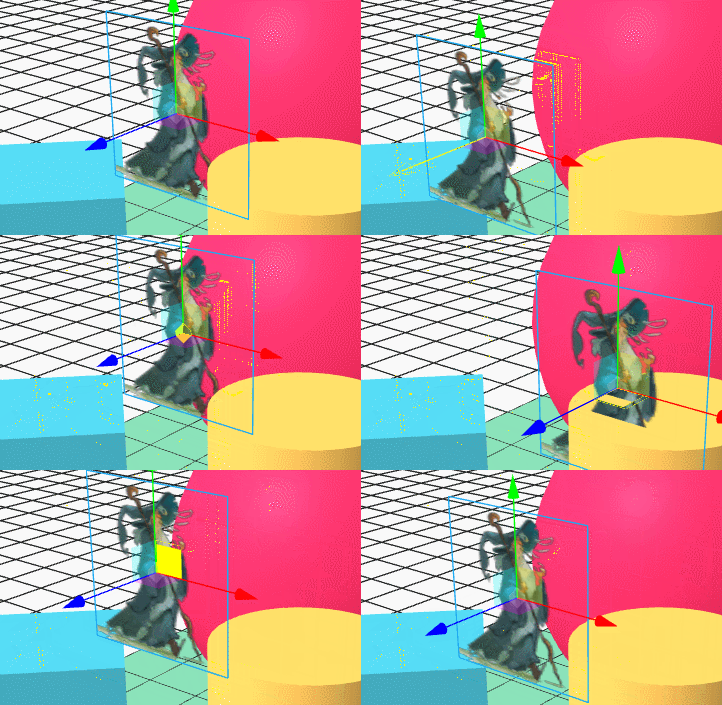
Click and drag on different handles to move it around your scene. With the three arrow-centric buttons at the top right-hand corner of that frame, you can change how clicking and dragging a handle affects your object. Over on the right-hand side, you can manually set values for a whole slew of different attributes. Once you are happy with your object, hit the button in the very upper right to copy that object.If you are having transparency issues, try setting the AlphaTest attribute to 0.5
The changes you made over on the right haven't been made to the code on the left. With this method, you have to replace your original code every time you alter an object. So now, copy the altered object code by pressing the "Copy entity HTML to clipboard," then select the <image> line you copied in earlier and paste the new altered object you just modified.

Now when you hit the little refresh button on the right pane, your scene should appear with your object in the new spot. Keep iterating until it's good enough to show somebody!
#7.) Share it with people!
Click the view button in the top left, and hit "In a New Window" to see your creation apart from your code. You can copy and paste that URL, email it, tweet it at @aframevr, or slide it into someone's DM's.And any browser that implements this spec can see it, and pipe it out to whatever HMD you have connected to your PC. You can make VR/AR content, all for free, from the web, using HTML. What a time to be alive, no?
